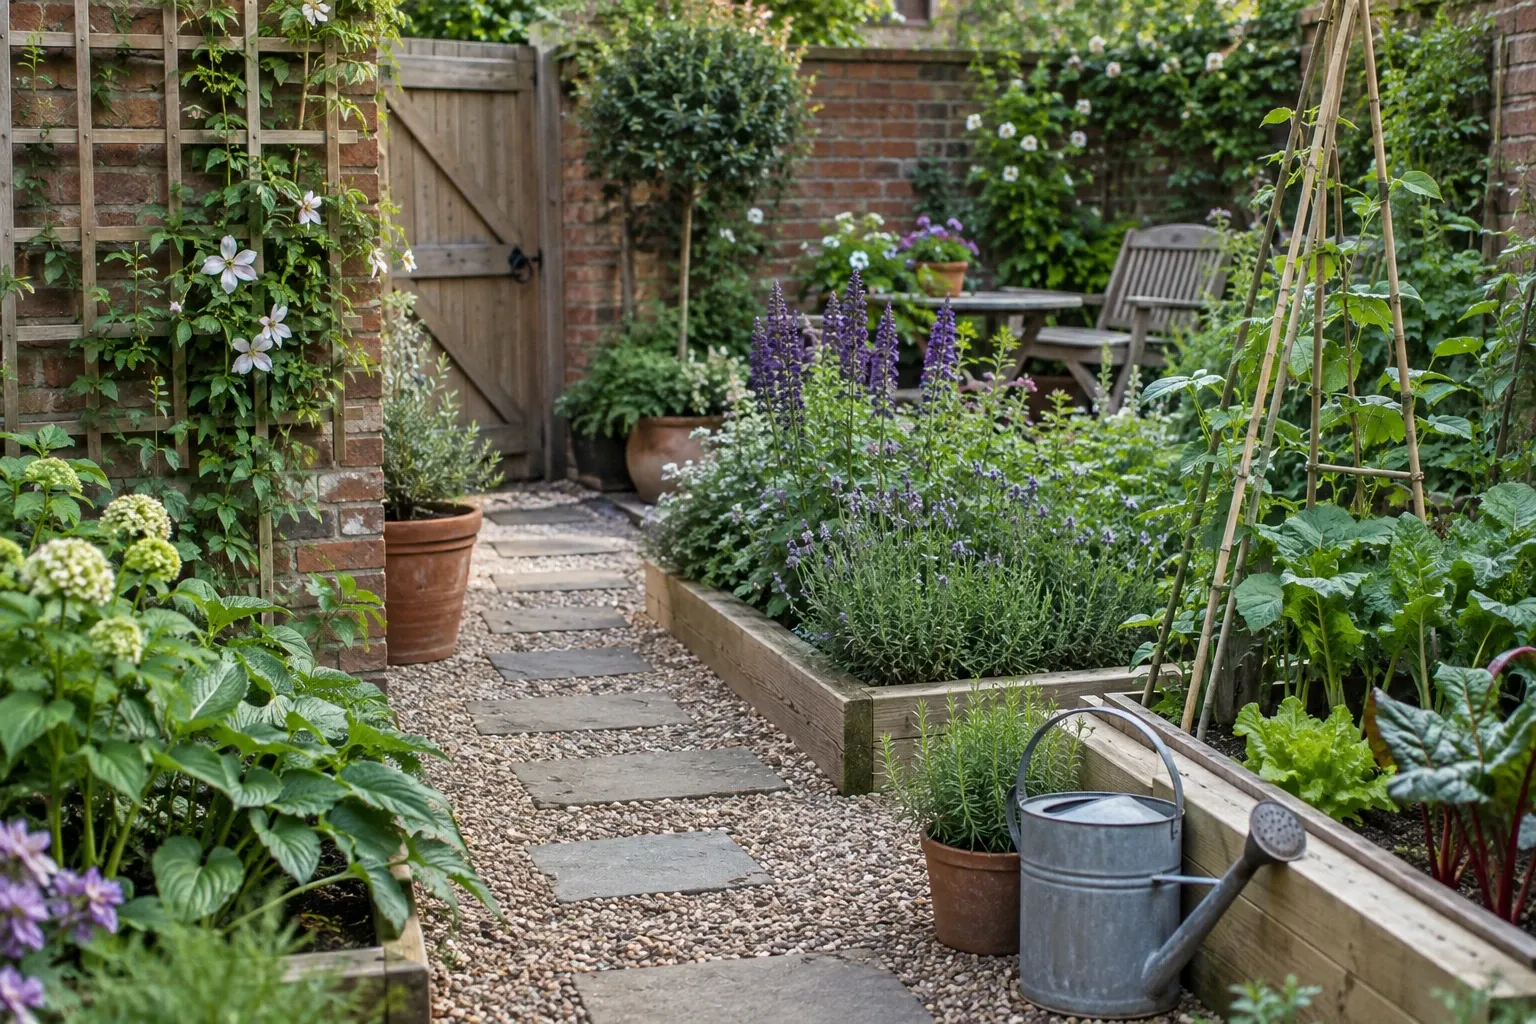
In most small UK gardens the path does more than get you from A to B: it sets the layout, keeps feet out of beds, and decides whether rain soaks in or runs off. Before you buy materials, work out how wide the route needs to be, how the ground drains, and how much maintenance you’re happy to do. Then match those needs to the right surface and a simple, robust build-up you can repeat across the garden.
What do you need the path to do?
- Connect the places you use most, not the edges you rarely walk. If you’re reshaping beds and circulation together, start with a simple plan and route the main desire lines first, then add spurs to bins, compost and a seat; you’ll find pointers in our guide to plan a practical layout.
- Stay walkable year‑round. In wet spells, loose surfacing over poor sub‑bases can rut or puddle; robust sub‑bases and permeable finishes reduce this.
- Drain without overloading sewers. For front gardens and any area that sheds water to the street, the UK rule of thumb is to use permeable surfacing or drain on site; otherwise paving over more than 5m² may need permission, as set out in the government’s guidance on permeable surfacing of front gardens.
- Be usable for everyone who’ll walk it. Inclusive path notes suggest a comfortable clear width of 1.2–1.5m, with passing places if narrower, and gentle gradients around 1:20 where possible; see the Sensory Trust’s paths and routes guidance and Department for Transport’s advice on passing places in Inclusive Mobility.
How should you compare materials?
Think in four parts: underfoot feel, access, drainage and upkeep. The table below summarises the common choices for small UK gardens.
| Material | Underfoot and access | Drainage | Upkeep | Where it suits |
|---|---|---|---|---|
| Gravel on a compacted sub‑base | Slightly mobile underfoot; less friendly for canes, thin wheels and heels unless well contained | Permeable surface; needs a sound sub‑base to avoid ruts | Rake occasionally; top up fine gravel that migrates | Informal routes, cottage or modern gravel gardens; avoid on steep slopes |
| Paving flags/blocks on sub‑base | Firm, even surface; best general accessibility if laid level with flush edges | Can be made permeable with open joints or permeable systems | Occasional weeding of joints; long life if laid well | Main routes, wheelbarrow runs, narrow side access |
| Bark/woodchip over membrane or compacted base | Springy and forgiving; not ideal for mobility aids | Permeable; organic material breaks down over time | Topping up every few years as it decomposes | Allotments, informal borders, temporary paths |
| Stepping stones set flush in lawn, gravel or bark | Hop‑stone gait; spacing needs to suit the walker | Permeable between stones | Keep surrounding surface neat; settle stones if they rock | Light‑use shortcuts, playful routes |
- For gravel, a compacted sub‑base takes the load and the gravel is a surface dressing; too thin a layer scuffs and exposes what’s beneath, so aim for a minimum depth around twice the gravel size and contain the edges, as explained by Pavingexpert.
- For paving, you can choose permeable block or construction that lets rain soak away rather than run off hard surfaces; both the RHS and government guidance emphasise using permeable options where possible (RHS advice on permeable paving; GOV.UK guidance).
- For bark or woodchip, expect it to compact and decay, so plan to replenish the surface periodically; professionals note that loose‑fill can scuff off fabric if edges aren’t contained and levels kept up (Pavingexpert on bark paths). Bark and chipped woody waste are widely used mulches that can double as informal path surfacing in borders (RHS on woody mulch).
- For stepping stones, dry‑lay and test the spacing with your normal stride before you commit; aim for flush, stable seating so you don’t turn an ankle, a point made in Pavingexpert’s stepping‑stone guide.
Which surface matches your garden and time?
- Prioritise your busiest routes with paving if you need firm, year‑round access (wheelbarrow, pram, mobility scooter). Keep joints tight and edges flush for safer footing, as trades guidance stresses for even finishes (Pavingexpert on tight joints).
- Use gravel where you want a softer look that still drains well. Contain it with edging, and don’t skip the compacted sub‑base for stability.
- Choose bark on allotments and informal beds when a forgiving surface and low upfront cost matter more than longevity; plan for top‑ups every few years.
- Keep stepping stones for light‑use links or as shortcuts across wider planting where a full path would eat space; test stride and turning room against your layout plan.
If you’re reworking a compact plot, small adjustments to bed lines and path widths can make a garden feel roomier; see ideas to make a small garden feel easier to use.
How to build a small, durable path (repeatable method)
- Mark and test the line
- Mark the centreline with string, then walk it with a barrow. Tweak tight corners now. Keep gradients gentle and provide passing places if narrow over distance, following the inclusive guidance above.
- Excavate and set levels
- Dig to accommodate the sub‑base plus surface so the finished path sits flush with lawn or adjacent paving. Falling a few millimetres to one side helps shed surface water without creating a trip; firm, even surfaces are safer for mobility, as accessibility notes emphasise.
- Install the sub‑base
- For both gravel and paving, compact a granular sub‑base to create the load‑bearing layer; this is the foundation that stops rutting and keeps the surface even.
- Choose permeable first
- Where you can, specify permeable blocks, open‑joint paving over a permeable bed, gravel contained by edging, or bark over a free‑draining base so rainfall soaks in on site, in line with GOV.UK guidance and RHS advice.
- Lay, test and finish flush
- Dry‑lay slabs or stepping stones and walk them. Adjust until the stride and turning feel natural, then bed and compact so edges sit flush with adjacent surfaces for easy wheeling.
How will you know it works?
- After the first heavy rain, check whether water soaks in or runs off to hardstanding; if the latter, add soak‑in areas or adjust falls to keep water on site, echoing the goal of the UK’s permeable‑surfacing guidance.
- Walk it with what you actually use — a barrow, a buggy, a mobility aid — and confirm widths and turning feel right; where widths pinch, create passing places as advised in Inclusive Mobility.
- Note scuffing, loose edges or rocking slabs in the first month. These are installation snags: add edging to contain gravel, top up bark where it thins, or re‑bed a loose stone following the practical fixes in Pavingexpert’s gravel guidance.
If light is an issue on a shady side return, you can still lay a firm, pale path and plant for brightness; see how to find the light in a north‑facing garden.