The repotting of orchids is an essential gesture to ensure their health and promote their blooming. Carried out every 2 to 3 years or as soon as the roots overflow, this process requires special attention, particularly by avoiding it during flowering to minimize the stress experienced by the plant. Using appropriate tools and a specific potting mix, as well as timing it well, are key to optimizing their growth.
The essential information
- Repotting orchids is crucial for their health.
- To be done every 2 to 3 years or when the roots overflow.
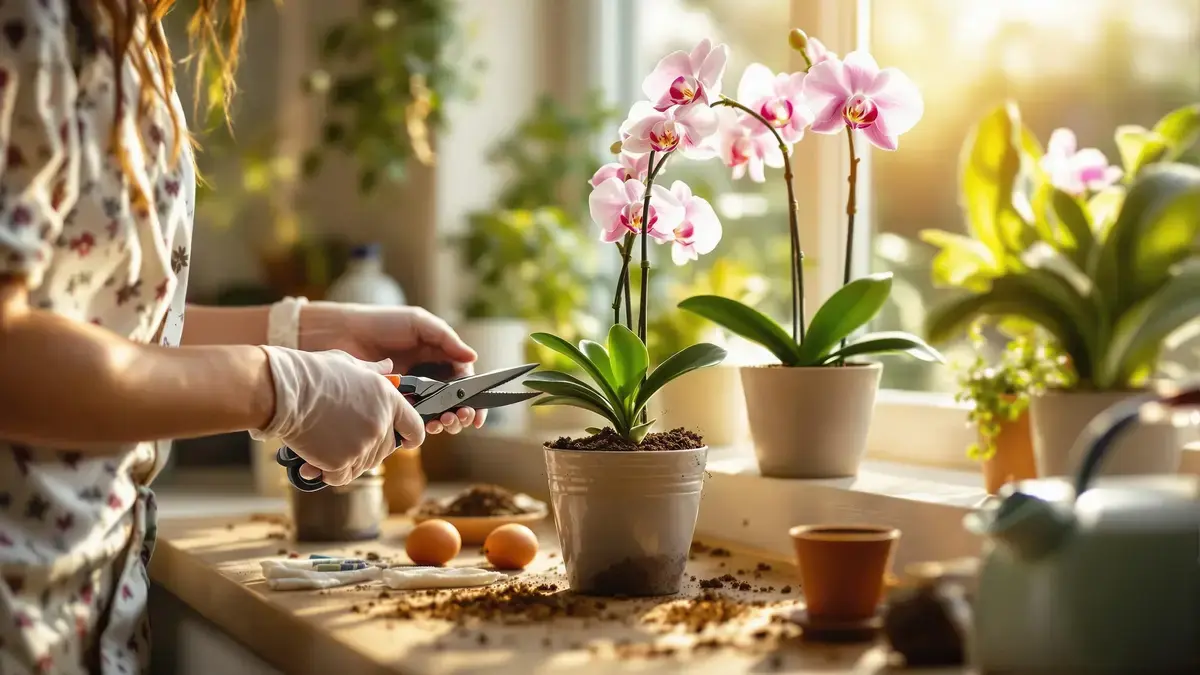
- Prepare with a disinfected pruning shear and a specific potting mix.
- Ideal after blooming, in spring or early summer.
Safe Method for Repotting Orchids
Repotting orchids is an essential act to ensure their health and well-being. Like other plants, orchids require a conducive environment for their growth, and repotting helps provide them with the right soil and essential nutrients. Therefore, it’s crucial to know the appropriate method to carry out this operation carefully.
Repotting Frequency
It is recommended to repot orchids every 2 to 3 years, or when you notice that the roots are overflowing from the pot. This overflow may be a sign that the plant needs new space to grow and that the substrate needs to be replaced. Regular repotting will help keep your orchid healthy.
Avoid Repotting During Flowering
An important aspect to consider when repotting is to avoid doing it during flowering. This delicate moment can be stressful for the plant, compromising its chances of producing new flowers or maintaining existing ones. It is best to wait until after the blooming period to proceed with the repotting.
Necessary Tools
To succeed in this task, it is essential to have the right tools. A disinfected pruning shear is vital for cutting damaged roots without harming the plant. Moreover, a specific potting mix for orchids will ensure your plant receives the nutrients it needs to thrive. Choosing the right materials is crucial for the long-term health of your orchid.
Preparation Before Repotting
Before you begin repotting, it is advisable to water the plant a few hours in advance. This step will help soften the roots, making the process of removing them from the old pot less aggressive for the plant. Proper preparation is key to avoiding damage to the sensitive roots.
Steps for Repotting
The steps for repotting should be followed precisely. First, gently remove the orchid from its old pot to avoid damaging the roots. Then, carefully inspect the roots and remove any that are damaged using the disinfected pruning shear. To begin the actual repotting, place some potting mix at the bottom of the new pot, spread the orchid’s roots, and gradually add potting mix while ensuring to fill the empty spaces. If necessary, use a stake to stabilize the plant while it settles into its new environment.
Ideal Repotting Period
The ideal time to repot an orchid is after blooming, often in spring or early summer. This allows the plant to recover and adjust to its new pot during the active growing season. By observing this timing, you promote healthy development of your orchid.
Objective of Repotting
The main objective of repotting is to encourage blooming and stimulate the growth of your orchid. By providing a fresh substrate and allowing it to grow in adequate space, you increase its chances of producing beautiful flowers. In summary, these actions are essential to ensure the beauty and health of your plant in the long term.