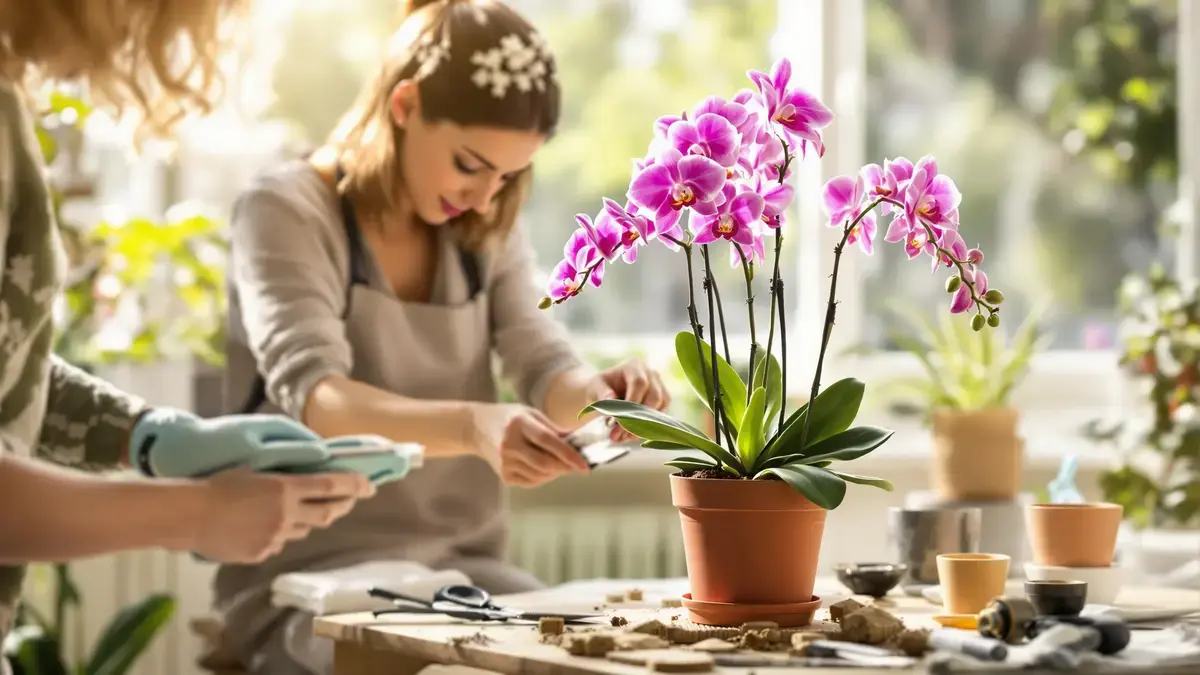
Orchids, flowers prized for their beauty, require periodic repotting to promote their optimal growth. This process, often delicate, must be carried out carefully to avoid stressing the plant. It is essential to use a disinfected pruner to remove dead roots and to prepare a specific potting mix rich in pine bark and perlite. This technique, recommended after flowering, ensures an even more stunning bloom.
The essential information
- Orchids require repotting for their health.
- Use a disinfected pruner to prepare the plant.
- A specific potting mix is essential for their growth.
- The best time to repot is after flowering.
Orchids and Their Need for Repotting
Orchids, captivating flowers loved by gardening enthusiasts, require occasional repotting to flourish fully. Over time, the pots they are in may become too small or the potting mix may degrade, necessitating intervention to ensure the plant’s health.
Preparing Tools for Effective Repotting
Before beginning the repotting process, it is imperative to use a disinfected pruner. This tool will allow for the removal of dead roots without risking infection for the plant. Disinfection is a crucial step that ensures the plant does not suffer from diseases due to improperly made cuts.
Choosing the Right Potting Mix
A specific potting mix is essential for the well-being of orchids. A mix rich in pine bark, perlite, and charcoal is recommended. This type of potting mix promotes good aeration and adequate drainage, which these plants particularly appreciate.
Watering Before Repotting
To facilitate the repotting process, it is advisable to water the plant lightly a few hours before the intervention. This helps soften the roots, making their extraction from the old pot much gentler and less stressful for the orchid.
The Ideal Time to Repot
Repotting should preferably be done after flowering, when the plant begins to enter a phase of active growth. Experts recommend repotting in spring or early summer, periods conducive to the flourishing of the orchid.
Removing the Orchid from Its Old Pot
When it is time to proceed with repotting, gently remove the orchid from its old pot while carefully preserving the roots. Gentle handling is essential to avoid damaging the plant.
Inspecting the Roots
Once the orchid is out of its pot, a thorough inspection of the roots is necessary. It is important to retain roots that are firm and green, while those that are dry or rotten should be removed to prevent contamination.
Placing the Orchid in the New Pot
After inspection, place the orchid in the center of the new pot, gently spreading the roots to give them enough space to develop. This positioning is crucial for the proper development of the plant over time.
Adding Potting Mix and Stabilization
Add the potting mix gradually around the roots, ensuring to fill any empty spaces. If necessary, a stake can be used to ensure the stability of the plant, especially in the first few days following repotting.
Avoiding Repotting During Flowering
Finally, it is strongly discouraged to repot orchids during their flowering period, as this can induce unwanted stress on the plant. The flowering period is a delicate time that requires as much attention as possible to preserve the beauty and health of the orchid.


